
First step, the floor. The floor had some serious damage and rot, so part of the sub floor had to be replaced. I don’t want to talk about how fun it is to cut and install what is basically a giant puzzle piece.

Once the subfloor was patched I covered the entire floor in backerboard, or hardiboard.
One of the requests for this bathroom was some kind of heat source localized to the bathroom. I decided to go with a heated floor. Heated floor mats are actually pretty reasonable if you aren’t covering a huge amount of space. The mat and the thermostat set me back less than 200 dollars. The wiring was already in the right place.

Basically you tape the mat down and then use hot glue to hold things in place.
Then I wanted to see what my new tiles were going to look like.

I decided to go with an offset pattern, although I very seriously considered a herringbone. But, considering that this was my first time using a tile saw, I thought it might be best of my cuts were straight cuts instead of on a diagonal.
Time to start laying. 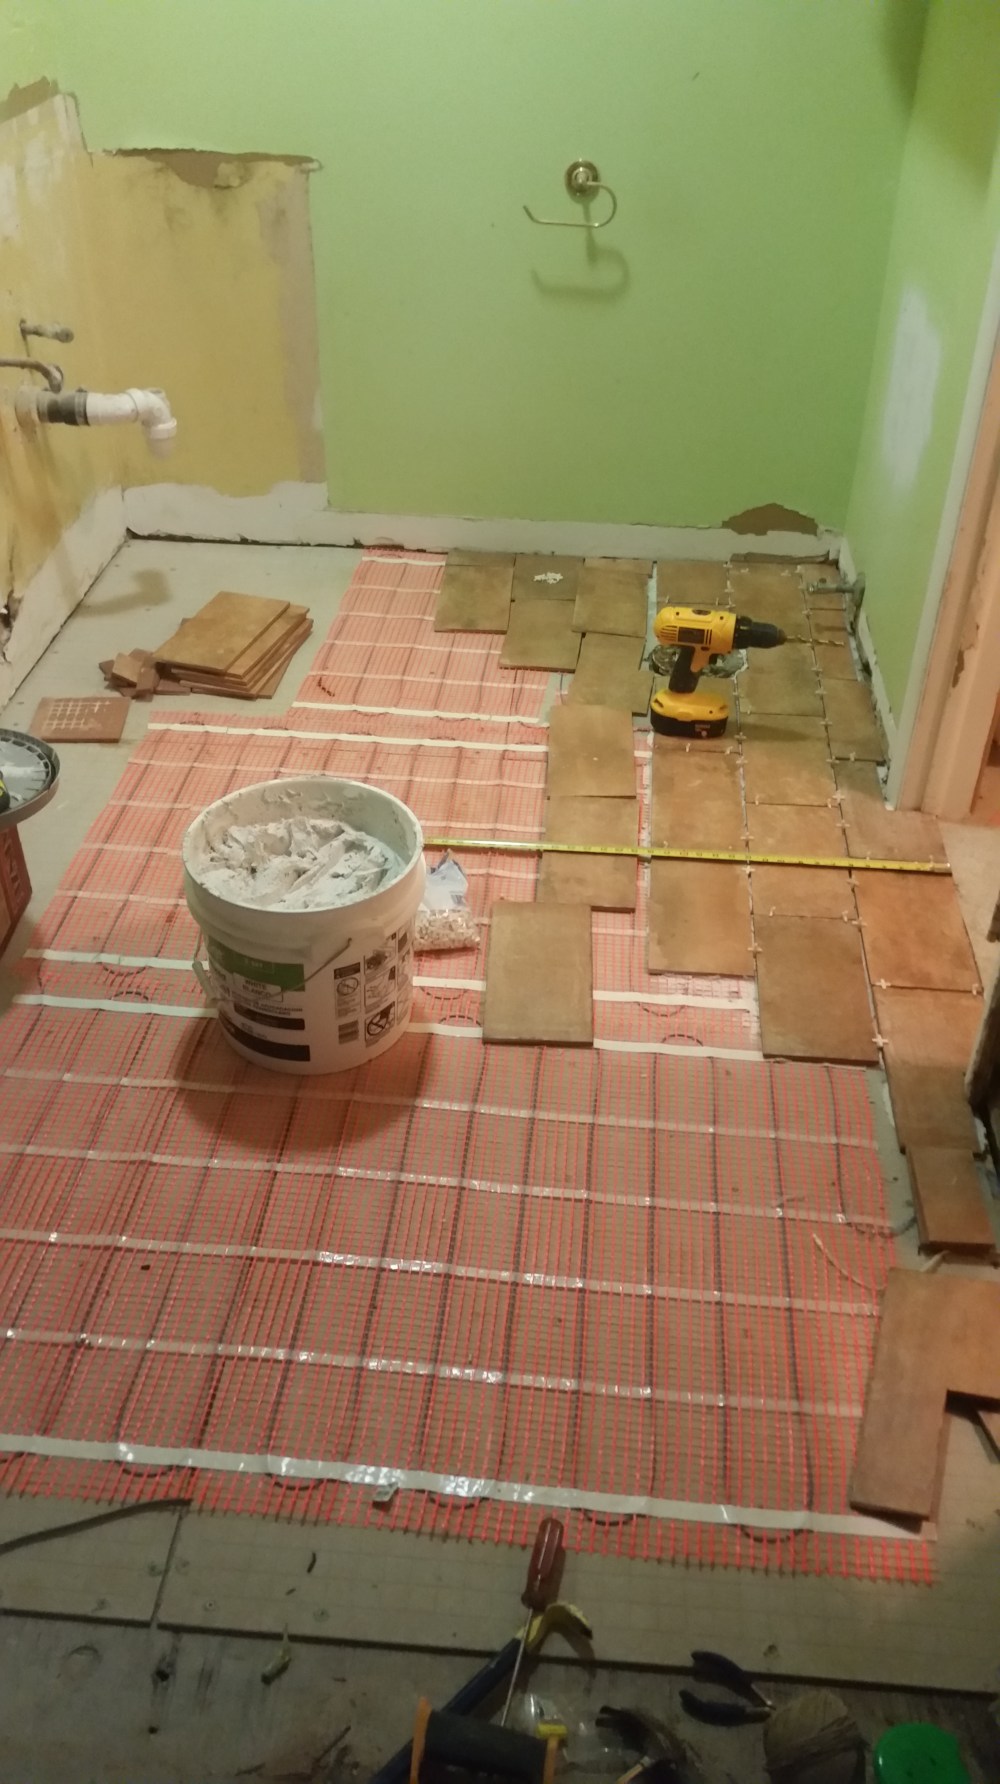
Luckily at this point in the construction there was a huge hole in the wall where the tub used to be, so I didn’t tile myself into a corner, so to speak.

Tiles laid with spacers. Allowed to set for 24 hours before the grout.

FINAL FLOOOR.
Now, the heated aspect can not be used for an entire month, because the tile need to cure that time without being super dried out. But, as I am writing this a month later, let me tell you, it is cozy on the feet.
