
Adding shutters was my next big step. I really wanted the coop to be able to be shut when the huge thunderstorms hit. But I wanted the shutters to be open most of the time, so they had to move. And I wanted them to be PAINFULLY cute.

One piece of shutter. It will take two of these to make each shutter, and two shutters for each window. I have three windows. So I needed 12 of these. The wood is just lattice pieces, two long and two short. I glued them together. Each piece had to be pressed while it dried. Here is a picture of my industriousness.
 Then they had to be painted. Everything has to be painted. Because paint is how we keep wood from turning into wood putty.

Don’t judge the chaos that is my workspace, I know where everything is, including my coffee.
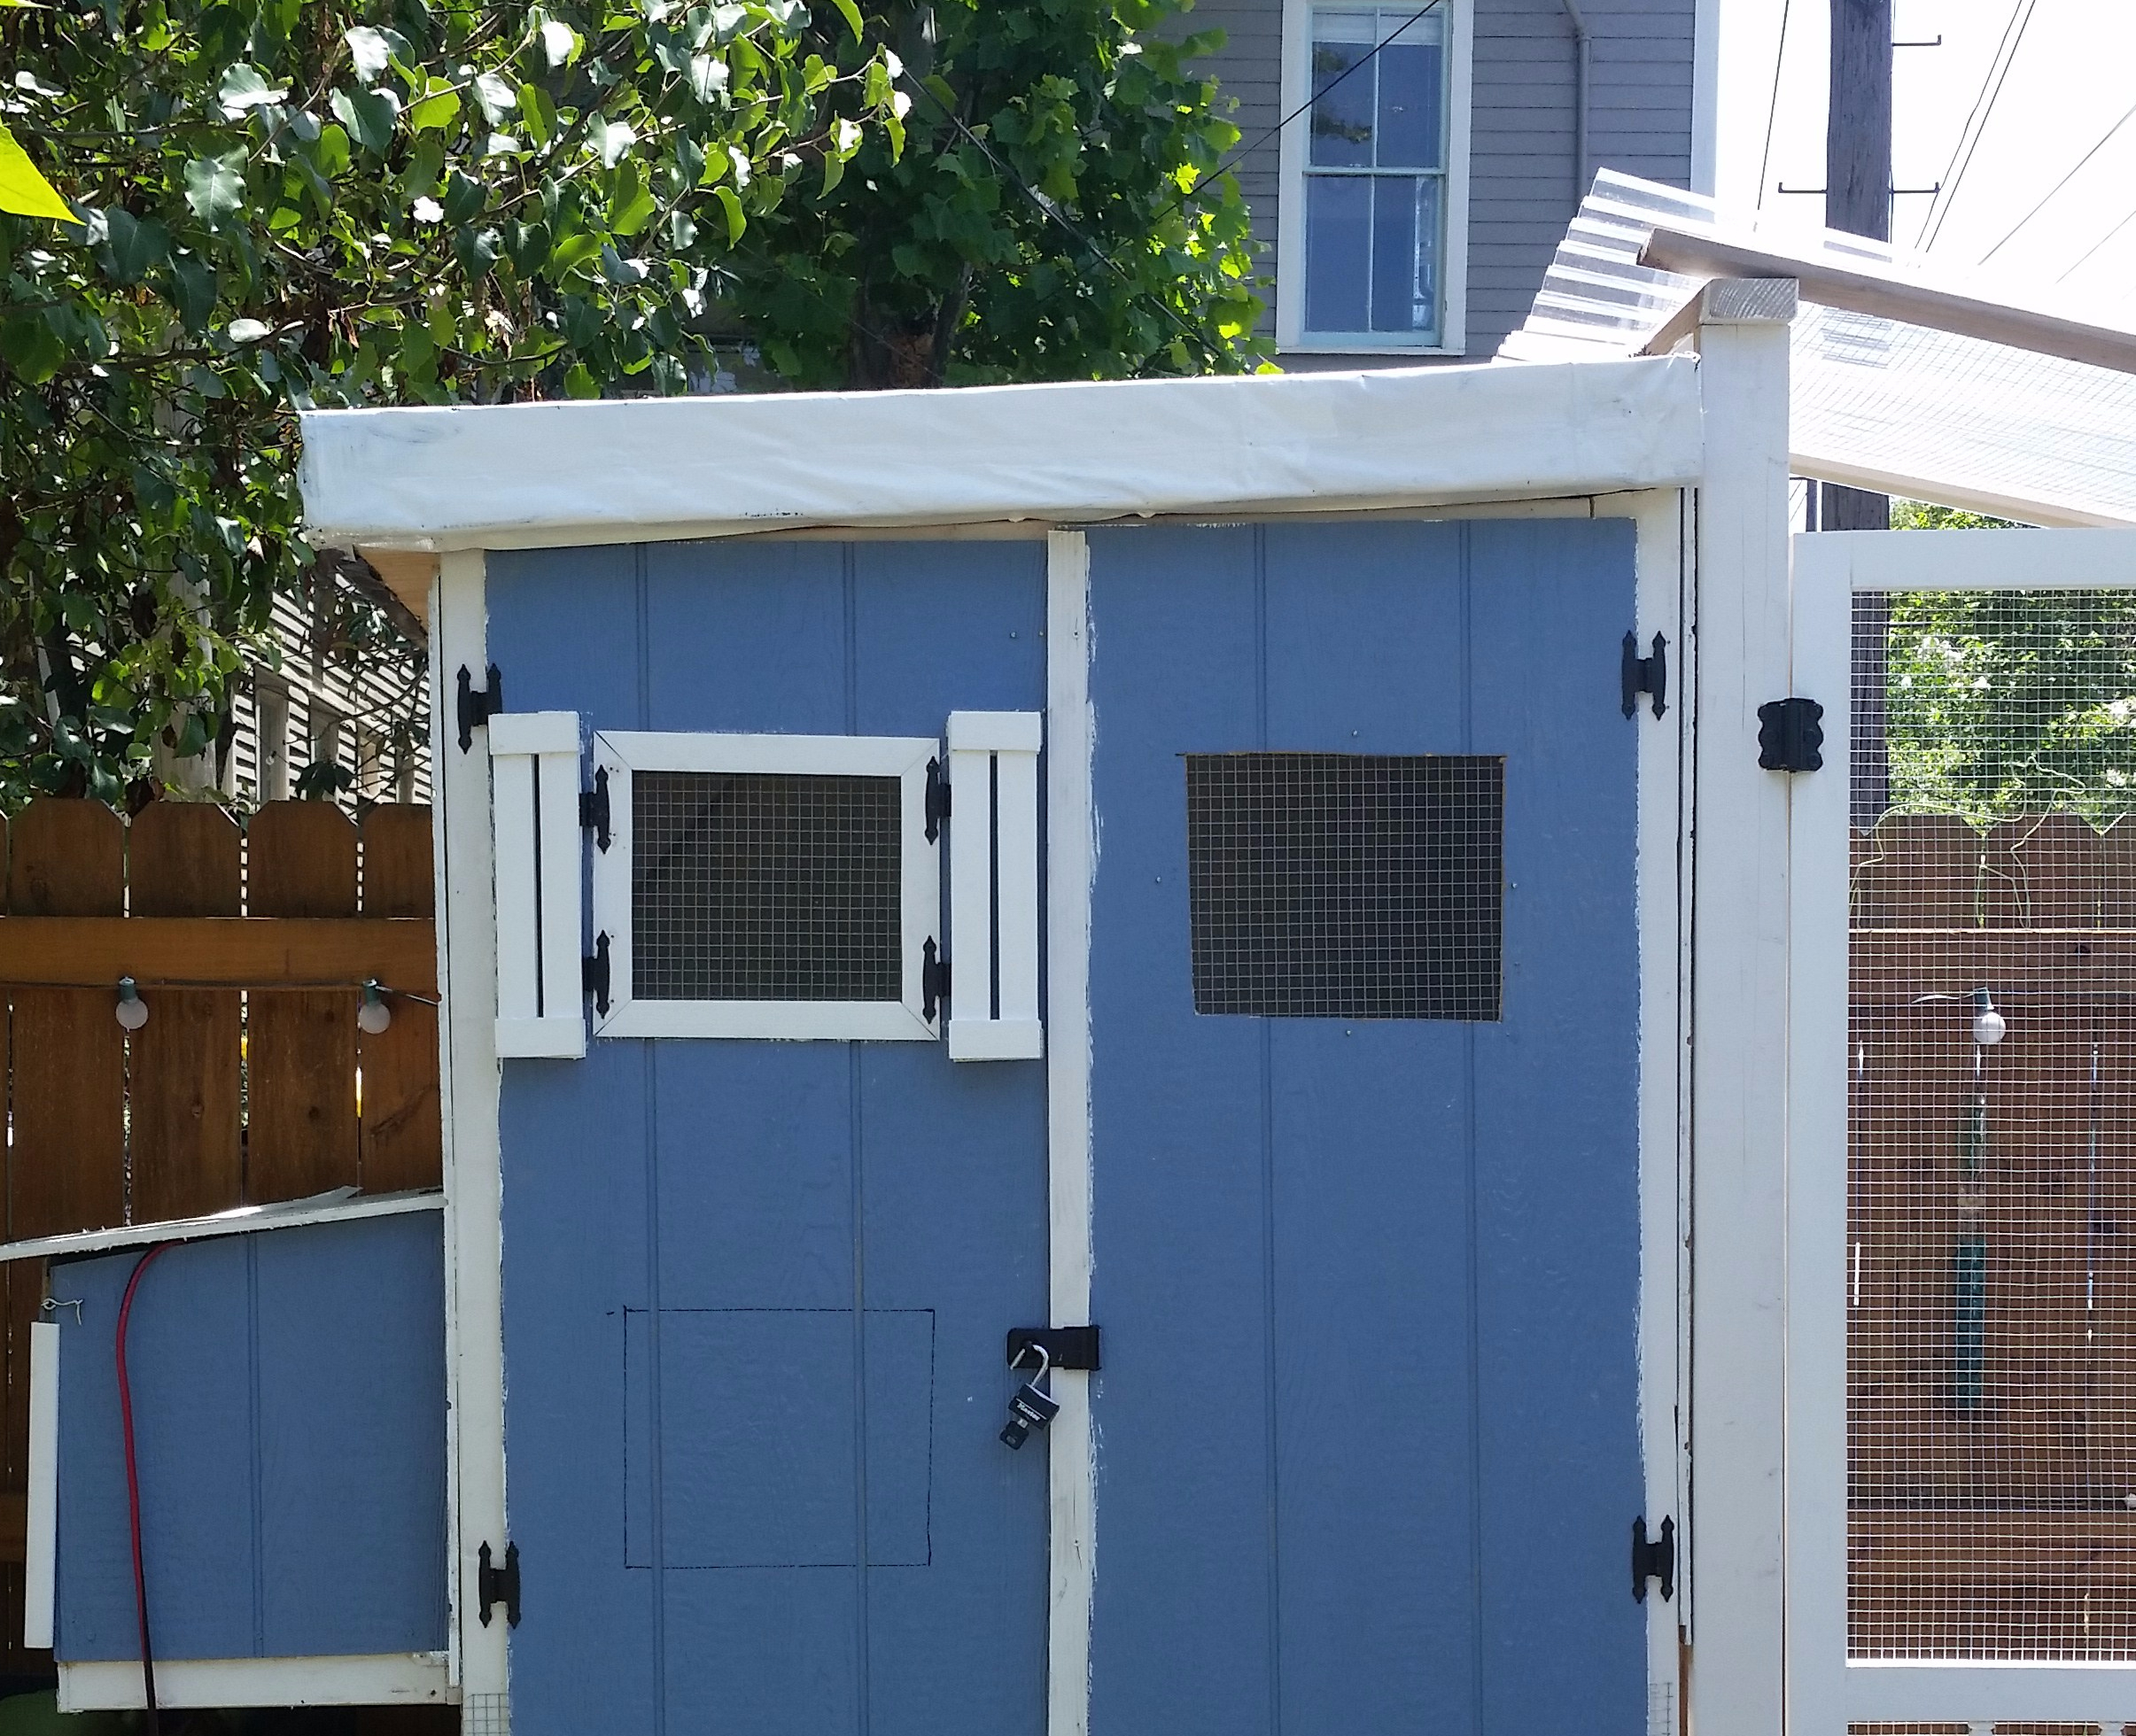
 Next was adding the hinges to the middle of each shutter. This is a little different than a typical shutter design. Typically each shutter is half the width of the window, so you just close them and they cover the whole window. My coop windows are too large for the space – to improve air flow – and a shutters half the width would overlap each other and get in the way. So mine need to be a quarter of the width and fold in half. Cause I’m extra.


Also, we are working really small here so a standard shutter hinge was going to be waaaay too big. I used cabinet door hinges.
I tried these on a couple of different ways, decided if I wanted the hinges to be more visible when they shutters were open or when they were closed. I eventually added a decorative edging around the windows and then flipped the shutters and attached them to the edging, which solved a lot of the issues I was having. It did mess up the sizes tho, and I did adjust the shutters.
Not going to lie about how much time that took. It was forever.
