
Replacing a switch is actually a really simple task. Less than an hour’s work. As long as the box is in good condition. If it isn’t, things get complicated really fast.
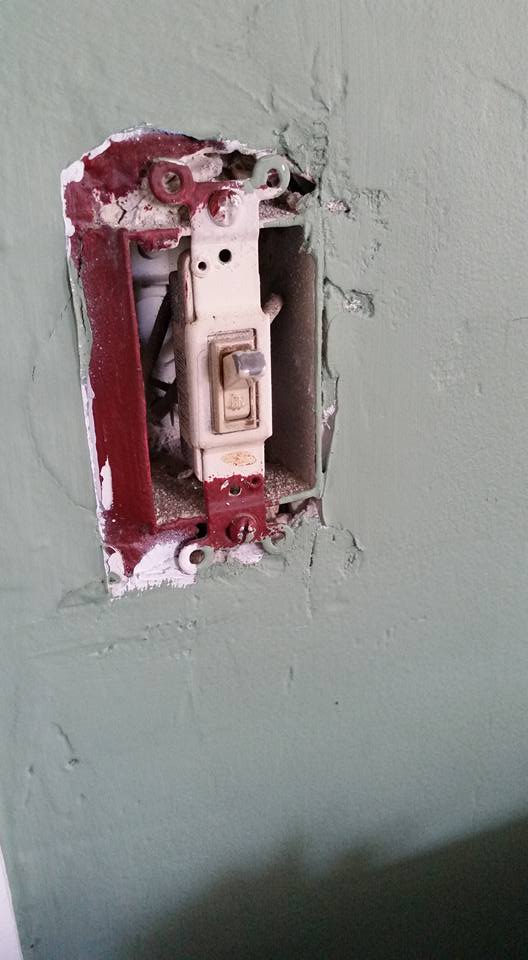
First, removing the old switch
Remove the screws and pull it out of the box. Note the wire colors, one black (albit dust covered) and one white. This is misleading. Both of these cords should be black, because this switch interrupts the hot wire leading to the ceiling fan. But they will almost ALWAYS be one white and one black. Also see the exposed copper? That’s not usually a good idea, especially since our box is metal. You can also see the ground wire folded in the back of the box. It is not attached to the switch. That’s not really a big deal, honestly, but we will attach it to our new switch.

Loosen the screws and pull the wires out. If you can manage not to break them, it will mean you won’t have to strip the wires later.
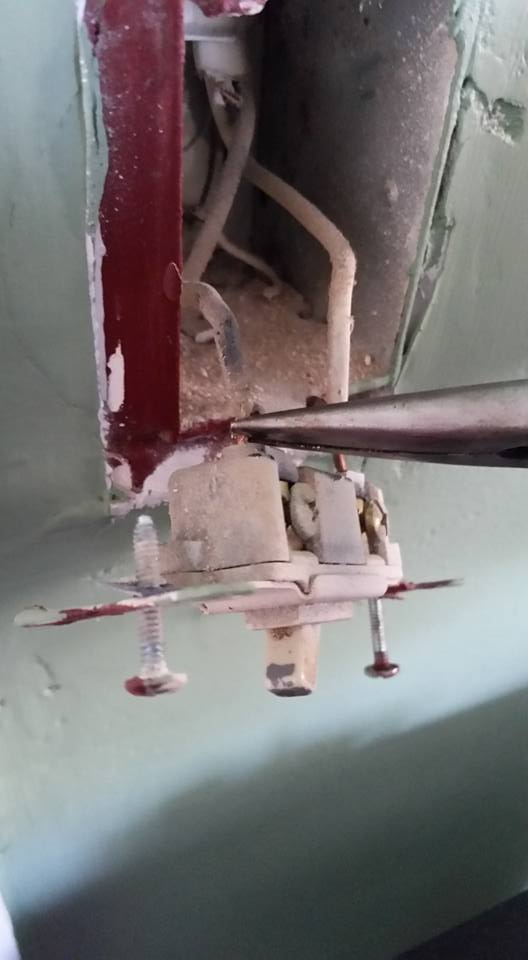
Removed switch ready for replacement.

